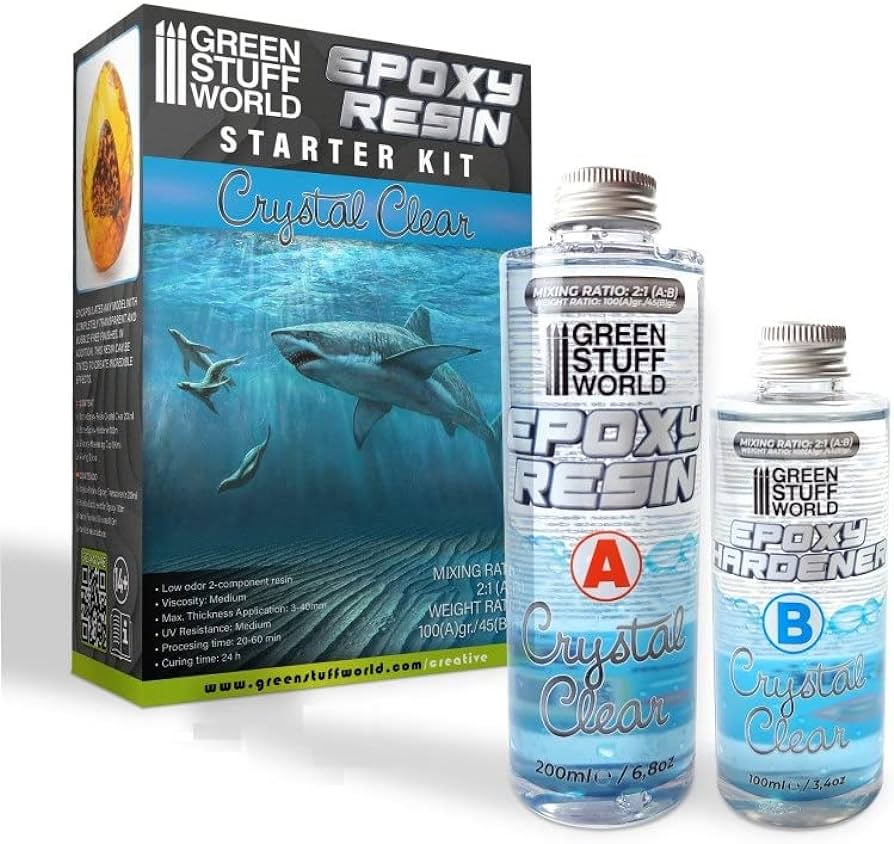
Epoxyhars is een synthetisch materiaal dat wordt gebruikt in een breed scala aan kunst- en handwerkprojecten, zoals modelbouw, watereffecten, sieraden, inkapselingen en snelle reparaties. Door zijn transparantie en hardheid is dit een bijzonder populair materiaal voor het creëren van diverse effecten in miniaturen, wargames en diorama’s.
Om het mengsel te creëren, worden twee componenten zorgvuldig met elkaar gemengd. De vloeibare epoxyhars en verharder veroorzaken een chemische reactie die doorgaans 24 uur duurt. Het is van cruciaal belang om de componenten nauwkeurig te mengen om ongewenste resultaten zoals niet-uitgeharde mengsels, te lange uithardingstijden of flexibele uitgeharde stukken te voorkomen.
Voor een goede menging moeten de componenten grondig door elkaar worden geroerd met een houten stok of lepel. Schudden van het mengsel moet worden vermeden om de vorming van luchtbellen die blijven bestaan te voorkomen.
De tijdsduur gedurende welke epoxyharsen na het mengen kunnen worden verwerkt, wordt de verwerkingstijd genoemd. Het varieert afhankelijk van de hoeveelheid gemengde epoxyhars. Grotere hoeveelheden resulteren in kortere verwerkingstijden, die doorgaans tussen de 20 en 60 minuten duren. Een warme omgeving zal de reactie versnellen, waardoor de werktijd wordt verkort, terwijl een koude omgeving deze zal verlengen.
Er kunnen kleurstoffen voor harsen in het mengsel worden verwerkt, evenals een verscheidenheid aan vulstoffen, waaronder pigmenten en glitterpoeders. Het is echter belangrijk om ervoor te zorgen dat de gebruikte vulstoffen bestand zijn tegen de hoge temperaturen die tijdens het uitharden ontstaan en compatibel zijn met dit product.
Geurarm 2-componentenproduct
Harsviscositeit: Medium
Maximale diktetoepassing: 3-40 mm
UV-bestendigheid: gemiddeld
Verwerkingstijd: 20-60min
Uithardingstijd: 24 uur
Inhoud:
– 300 ml (200 + 100 ml)
– 2 siliconen mengglazen
– 2 houten stokjes om te mixen
How do you make clear resin without bubbles?
Although working with these types of epoxy resins is generally a fairly simple process, getting clear pieces without bubbles does require some preparation, attention to detail, and following the manufacturer’s instructions in terms of times, mixing ratios, and quantities. Here are some general tips to help minimize bubbles:
- Work in a warm and dust-free environment: Choose a room with a warm temperature and low humidity to minimize air pockets in the application. Clean the work area to avoid dust particles from getting into the mixture.
- Mix both components slowly to avoid creating air bubbles. Mix thoroughly but avoid whipping the mixture to prevent introducing air into the mix.
- Use a heat gun or torch: Use a heat gun or torch whenever possible to carefully and briefly pass it over the surface of the mixed product to remove any surface bubbles. This process should be done with caution to avoid overheating or scorching whatever you are encapsulating.
- Allow the mixture to rest: After mixing, let the mixture rest for a few minutes before pouring it to allow air bubbles to rise to the surface.
- Pour the mixture slowly and steadily into the mold or surface, and avoid splashing it around. This can help minimize the introduction of new bubbles.
- Use a vibrating tool: If you have it because a vibrating tool or a sander with a vibration mode can help release any trapped air bubbles in the mixture.
- Cover and let it cure: After pouring the mixture, cover it with a lid or plastic wrap to avoid dust and other debris from settling on the surface. Allow curing for the recommended time in the instructions.

